Thursday, October 11, 2012

Pinned and Done- Burlap Cross

I just have to say, "I love pinterest!!!" I mean who doesn't? My only complaint is that it is a major time suck.   I am always finding something new to pin.  Do you have this same problem? For years I would tear things out of magazines and put them in binders or I would bookmark website after website so that I could remember all the things I wanted to cook, craft, sew and garden. And then some awesome person had the bright idea of creating a site in which you could "pin" all of it in one place. In my book that is just awesome.  Though the problem now is that I have so many things "pinned" that I am wanting to make that I can't keep up with it all. But I have completed a few of the things I have pinned. Today I am going to share a burlap cross that I made from a picture I saw on Pinterest.  There were no links for a tutorial but it is also pretty self-explanatory as well.  But here it goes...


 I made a template of the cross and cut it out, twice.

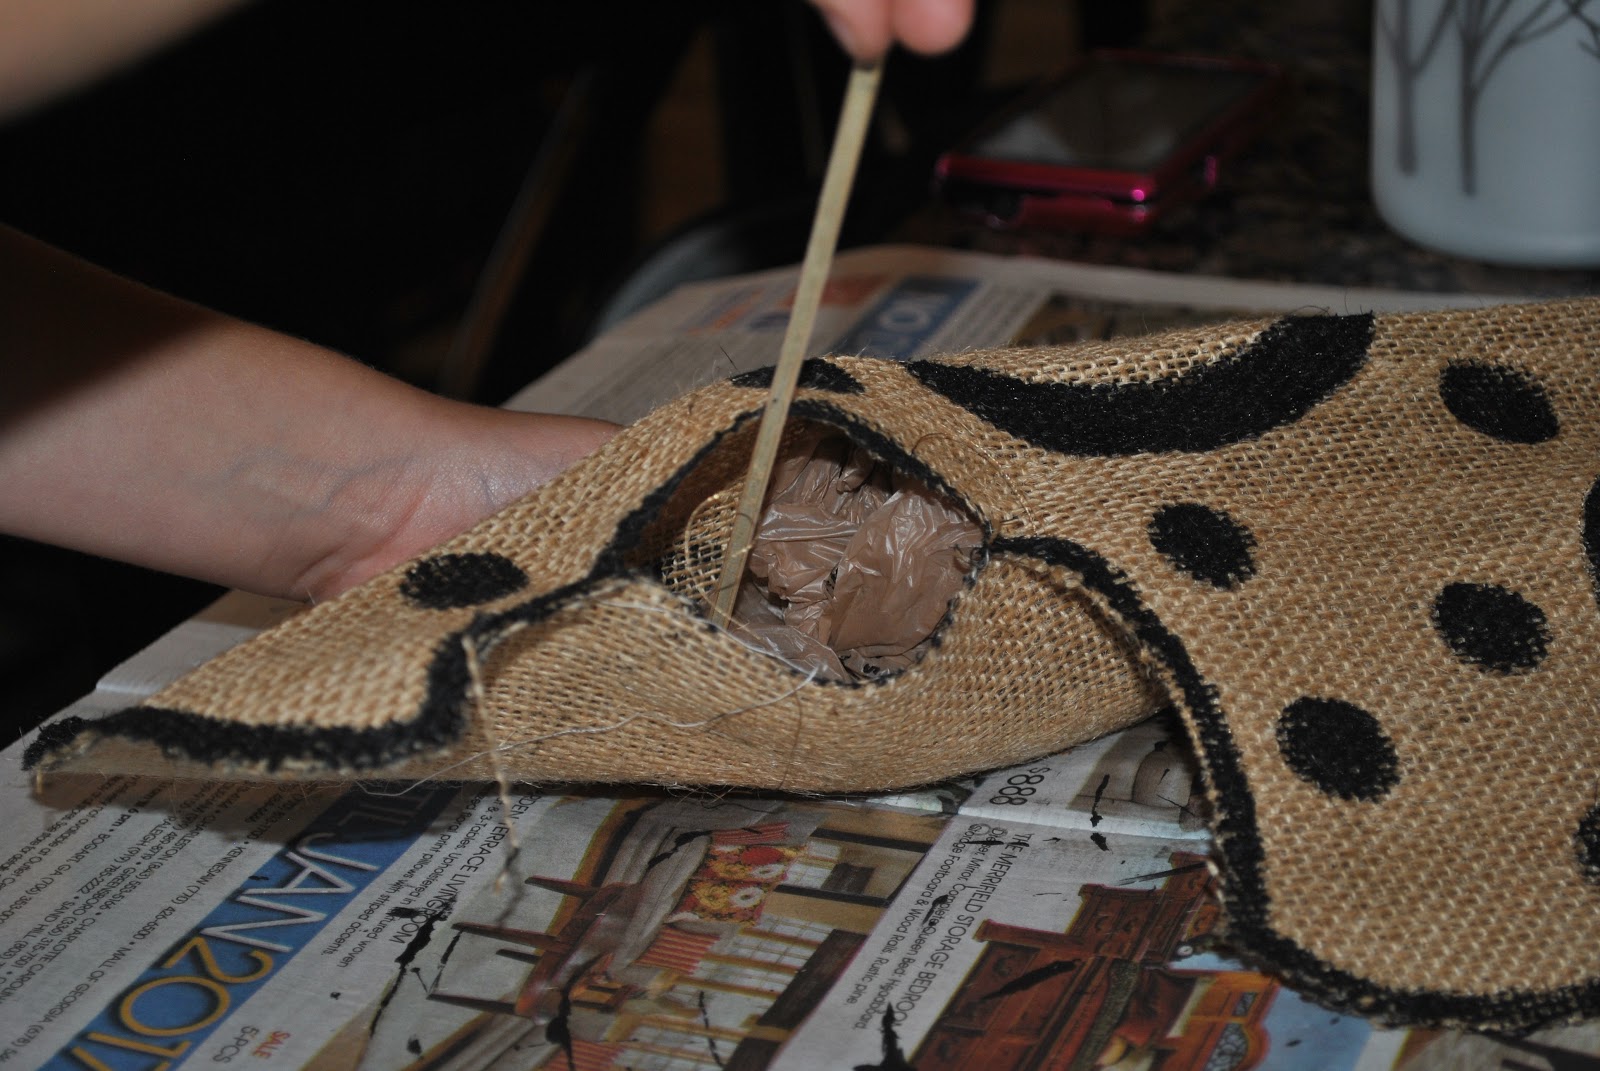
 Sew the two layers together, leaving a 1 to 2 inch opening to allow for stuffing your cross.
 I painted the front with polka dots, outlined the cross and then painted on my "C".  You can do whatever designs you would like to have on yours or none at all.

  Stuff your cross.  Since I was hanging this on my front door I used plastic grocery bags as the stuffing.     I had extra bags lying around and it was a great way to reuse something I had on hand.  To hang it I took some wire and poked it through the fabric and twisted the ends into a little curly Q.  Then I added a gray burlap bow to dress it up a little more.  And there you have your cross made out of burlap.
If you don't own a sewing machine, you can still make this.  You can hand sew it, staple the layers together, or even hot glue or fabric glue the layers together.   Good luck!


Thursday, October 04, 2012

Fairy Gardens

It is Fall Break for us this week. For the first part we stayed home but since my mother's birthday is today we went to Signal Mountain for a visit. I love coming home for so many reasons, and family is the most obvious. But today I realized as I was driving onto Signal Mountain that it is also because I miss the mountain with it's abundance of trees, wildlife and it's beauty. I caught myself staring through the trees and watching the sun's rays as they lit up the many shades of greens, browns and the beginnings of fall colors. It's something we don't get to enjoy at home where we have no woods near our house to enjoy.

And with fall coming the Signal Mountain Nursery, which my parents own with my sister and her husband helping out, is also ablaze with color. The mums are is full bloom as well as the pansies with their multitude of colors. Seeing all the mums and pansies lined up waiting for someone to take them home to decorate their front porch, deck or home is exciting to me. I always struggle to pick out my own favorites to take home and enjoy. But the other thing that caught my eye on this trip are the fairy gardens that my sister has created. As you may know fairy gardens are big right now. They are an abundance of people, furniture, houses, and other accessories to place in your fairy garden. My sister has also done several workshops at the nursery for everyone who wants to make their own fairy garden. The girls and I made one this summer but I can't wait to do another one this time with a Halloween theme. When I was at Market in Atlanta this summer helping my mother and sister pick things out for the nursery we came across not only the Halloween fairy gardens but Christmas and beach gardens as well. With so many options to choose from I might have to change them out several times a year!!

How creative is this and an awesome job of recycling too!?!  Using an old wheel barrow to contain your fairy garden.   The next two pictures are some close ups of the wheel barrow garden.


This one is my dream fairy garden.  This is a container made out of 2X4's and ply wood to make a large rectangle.  My dream is to make one of these with legs to use as a coffee table for my deck.  Add a few large "stepping stones" to hold drinks and you've got one awesome and unique fairy garden coffee table.
These are a couple of awesome examples of the Halloween or Fall fairy gardens.  I love the tiny headstones and skeleton in the graveyard.  The little pumpkin house is neat too.  And don't you think that your fairy will enjoy having their homes decorated for the holidays just like you?


Just look at all those fall mums and all that color.  I love mums!
 And if you know me you know how much I love owls.  And with that in mind I couldn't pass up this little guy who looks so cute in this little 4" mum.  

I can't wait to get back home with all my goodies to decorate the house with for Halloween and fall as well.  
 

Tuesday, August 21, 2012

G is a Blue Belt Now

On Saturday Gabe tested for his 4th belt, the blue belt, in karate. He was so excited to be moving up the ranks. He was the only one testing for the blue belt so he was more alone than usual, his wrk this summer paid off. He will have to get use to testing in smaller group since it gets harder and harder as you move up and takes a little longer. He did really well despite the fact that he didn't sleep well the night before from either excitement or nerves. But he made it and is now a belt and start working on his next Kata.
 During testing
Gabe with his new blue belt and the whole testing group.  

 Because Gabe worked so hard this summer and we made it to a minimum of two classes a week or made up class he was able to attend a pizza party given by the karate school as well. They had a whole lot of fun playing games and eating a little pizza as well.


Wednesday, August 15, 2012

First Day of School

I don't know about you but SUMMER went by way too fast.  It's seems like it gets shorter every, single year.  We have so many things we want to do and accomplish and then BAM!!! it's the first day of school once again.  Gabe and Abby started school on Friday and were excited to be going.  I think they have changed their minds a little as they remember that it's not all about friends and about work too but there hasn't been too much complaining, though they have already started asking me when Fall Break is going to be!  I am sure that the school year will seem to fly by at moments too, especially for me as I try to hold onto my babies just a little longer.  Elizabeth will be starting Kindergarten in another week and so that will be the last of my babies at home.  But the first day is always the best just because it is exciting and something new.


So here's to a great school year for all the kids out there!!


Tuesday, August 14, 2012

Tasty Tuesday {Zucchini Bread with Pineapple}


Every time I have gone home to visit my mom this summer she has sent me home with several large zucchini.  These large zucchini are called marrow and are perfect for making zucchini bread.  So when you have these on hand what else better to do than make zucchini bread?  I found this recipe several years ago but never made it, until I started making it this summer.  It is so delicious and moist that even though the kids know it's got the dreaded vegetable in it,  they love it!!  I tweaked it to my tastes by cutting the sugar in half, upping the zucchini by 1 cup and adding dried cherries instead of cranberries.  Another awesome thing about this recipe is that you don't have to drain or squeeze  the zucchini dry.  Just shred it and add it to your recipe.  The recipe below has all the changes I made.  I hope you enjoy it as much as we have.

Zucchini Bread with Pineapple 

INGREDIENTS
3 eggs
1 cup olive oil
1 cup sugar
2 teaspoons vanilla
3 cups coarsely grated zucchini
1 can (8oz) crushed pineapple, drained
3 cups all purpose flour
2 teaspoons baking soda
1 teaspoon salt
1/2 teaspoon baking powder
1 1/2 teaspoon cinnamon
3/4 teaspoon nutmeg
1 cup chopped walnuts
1 cup dried cherries

1. Preheat oven to 350°F. In a mixer, beat eggs. Add oil, sugar, and vanilla; continue beating mixture until thick and foamy. With a spoon, stir in the zucchini and pineapple.
2. In a separate bowl, combine flour, baking soda, salt, baking powder, cinnamon, and nutmeg. A third at a time, add dry ingredients into wet and gently stir (by hand) after each addition. Add the walnuts and raisins, blend gently.
3. Divide the batter equally between 2 greased and flour-dusted 5 by 9 inch loaf pans. Bake for 1 hour or until a wooden pick inserted in to the center comes out clean. Cool in pans for 10 minutes. Turn out onto wire racks to cool thoroughly.

Makes 2 loaves.

Adapted from a 1974 Sunset Magazine recipe

Happy Baking!!!
 

Tuesday, August 07, 2012

Tasty Tuesday {Microphone Cupcakes}

Back in March I made these cute cupcakes for Abby's Pop Star Birthday Party. They were a huge hit and oh, so fun to make.
Can you tell what they are?  Yes, they are mini microphones.  They are really very simple.  Take a cupcake and ice it whatever color you want {in this case Abby chose pink}.  For the microphones you will need...mini ice cream cones, silver sprinkles, white candy melts and cake balls.  Make your cake balls and freeze them for about 15- 20 minutes.  Pull them out of the freezer and working quickly and using a sqeewer dip them into the melted candy melts and roll in the sprinkles and allow to dry.  Once dry, dip the top of the cone into the candy melts, just enough to use as a glue, and place the cake ball on top.  With the microphones standing allow to dry.  Ice your cupcakes and place your microphones on top of the cupcake.  These can be a little top heavy so if you don't have many party goers you could make Jumbo cupcakes to be a little more stable, but they worked fine just the way they were.

Enjoy!
 

Wednesday, August 01, 2012

Cape San Blas {Let's go Fly a Kite and Cousins are fun}

We bought the kids some kites back in the spring when we happened to find them on sale. They were so excited to be able to use them. We bought the old fashioned diamond type while my sister and brother bought some really cool animal kites. Kaleb got his sting ray in the air and Elizabeth enjoyed flying it for a while. I think Karoline lost some of her parts before she even started putting it together so I don't think she ever got hers in the air and Dave's boys were more interested in playing in the surf. Abby and Elizabeth flew theirs for a while and Gabe flew his with Matt before I got down to the beach and wanted to play in the water with his cousins. The following two days didn't have enough wind for flying a kite. I will have to be sure to take them to the park on the next windy day so that they can really fly their kites.


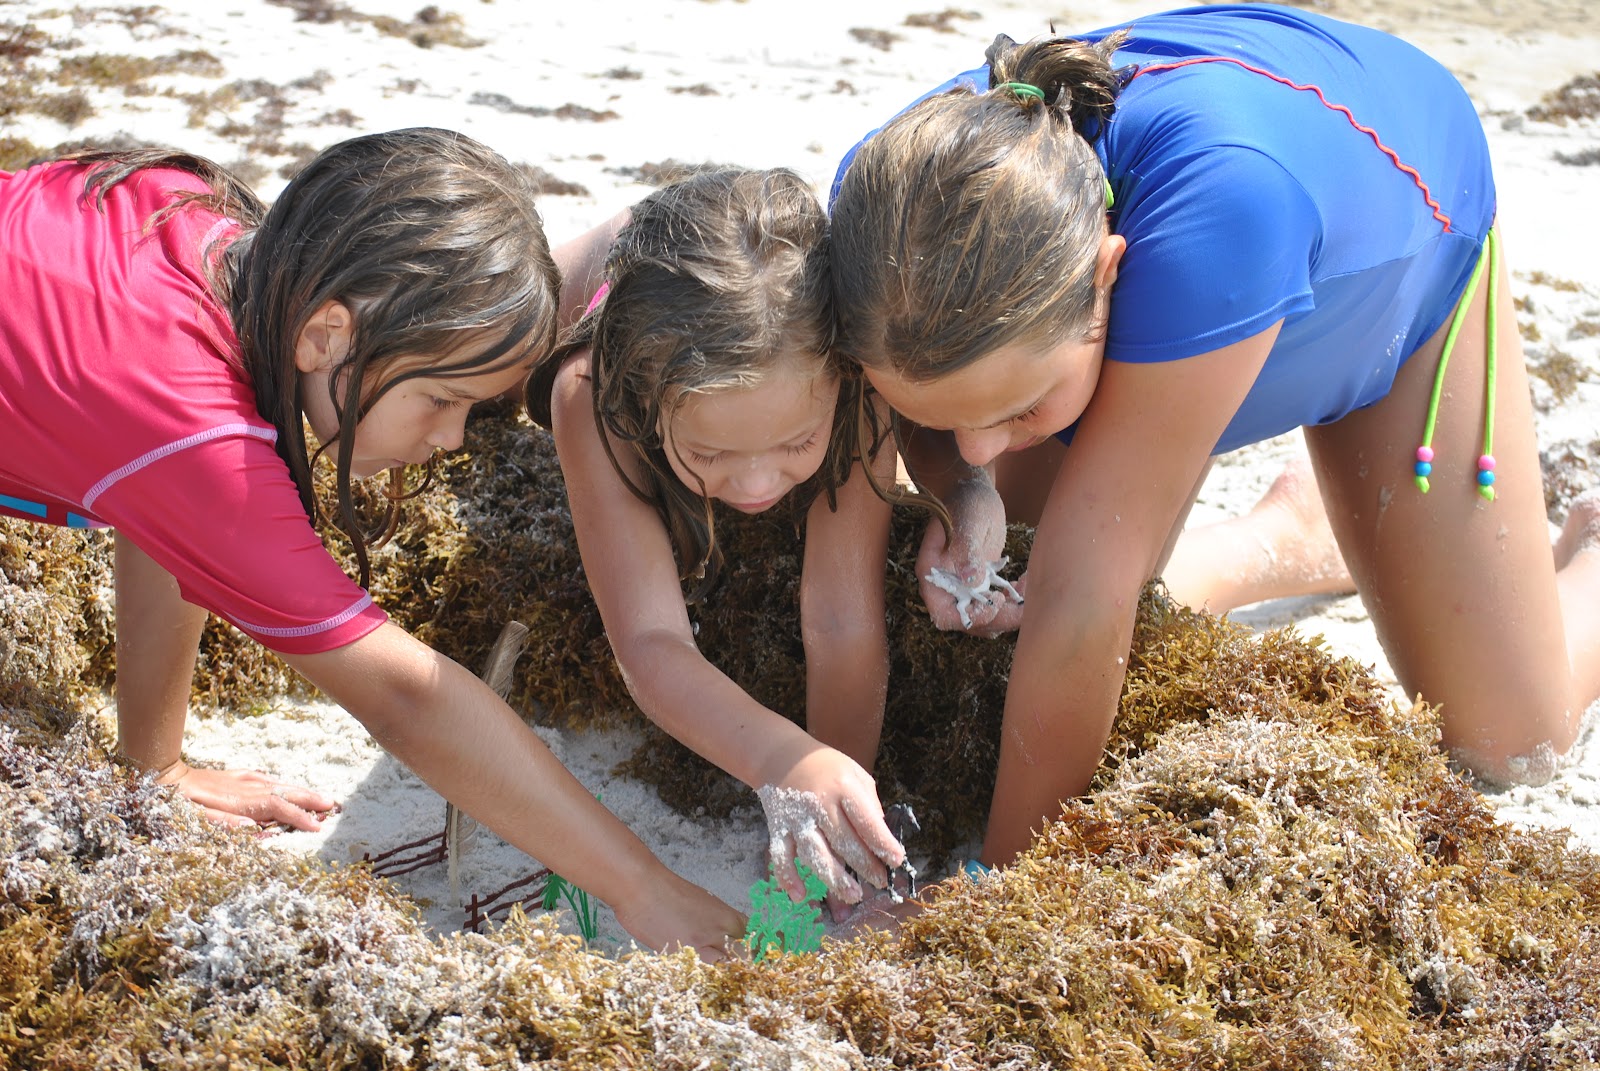
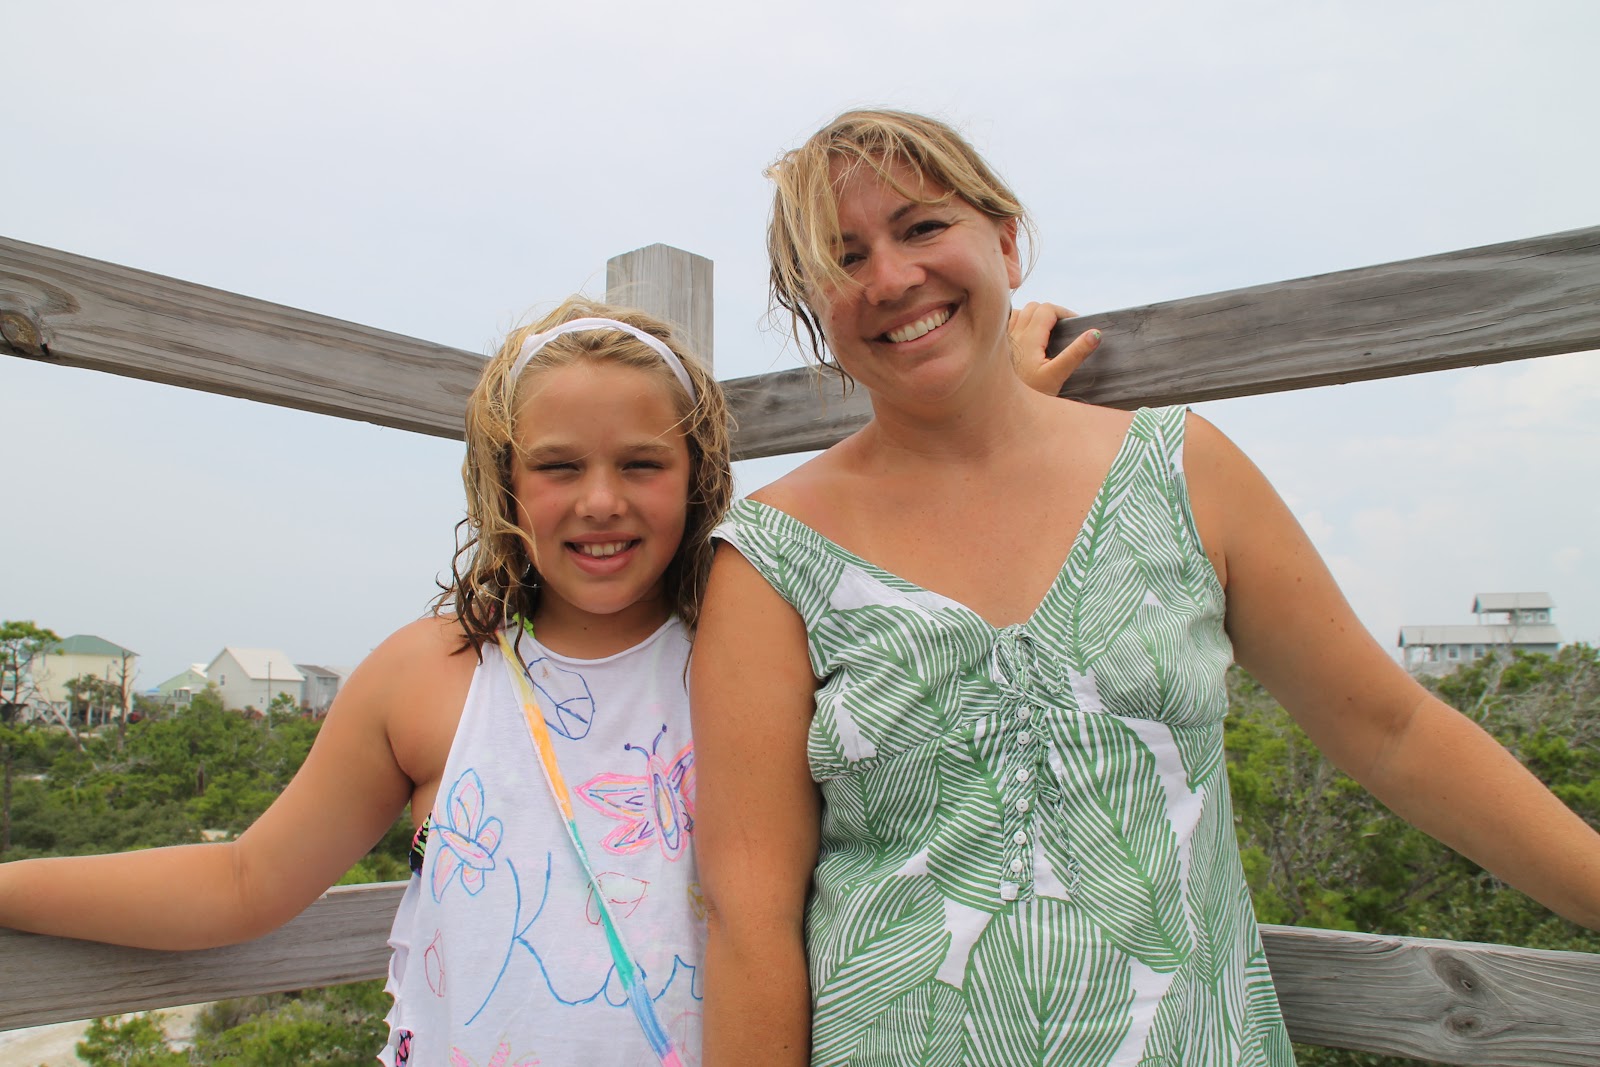
 The kids had so much fun together. It is wonderful that all the cousins are so close and consider each other friends as well as cousins. I hope that that friendship lasts into adulthood.  Here are some of those special moments from the week.


 I guess those two are worn out,

 Dancing with Uncle Dave.

 Googie showing the girls how to "break dance" during one of our many dancing sessions.
 You go Girls!!  {and Googie}

 There up there are the sea gulls.


 Peace!

 Jump!  Jump!  The waves just make me want to JUMP!


 One fish, Two fish...Big fish, little fish.


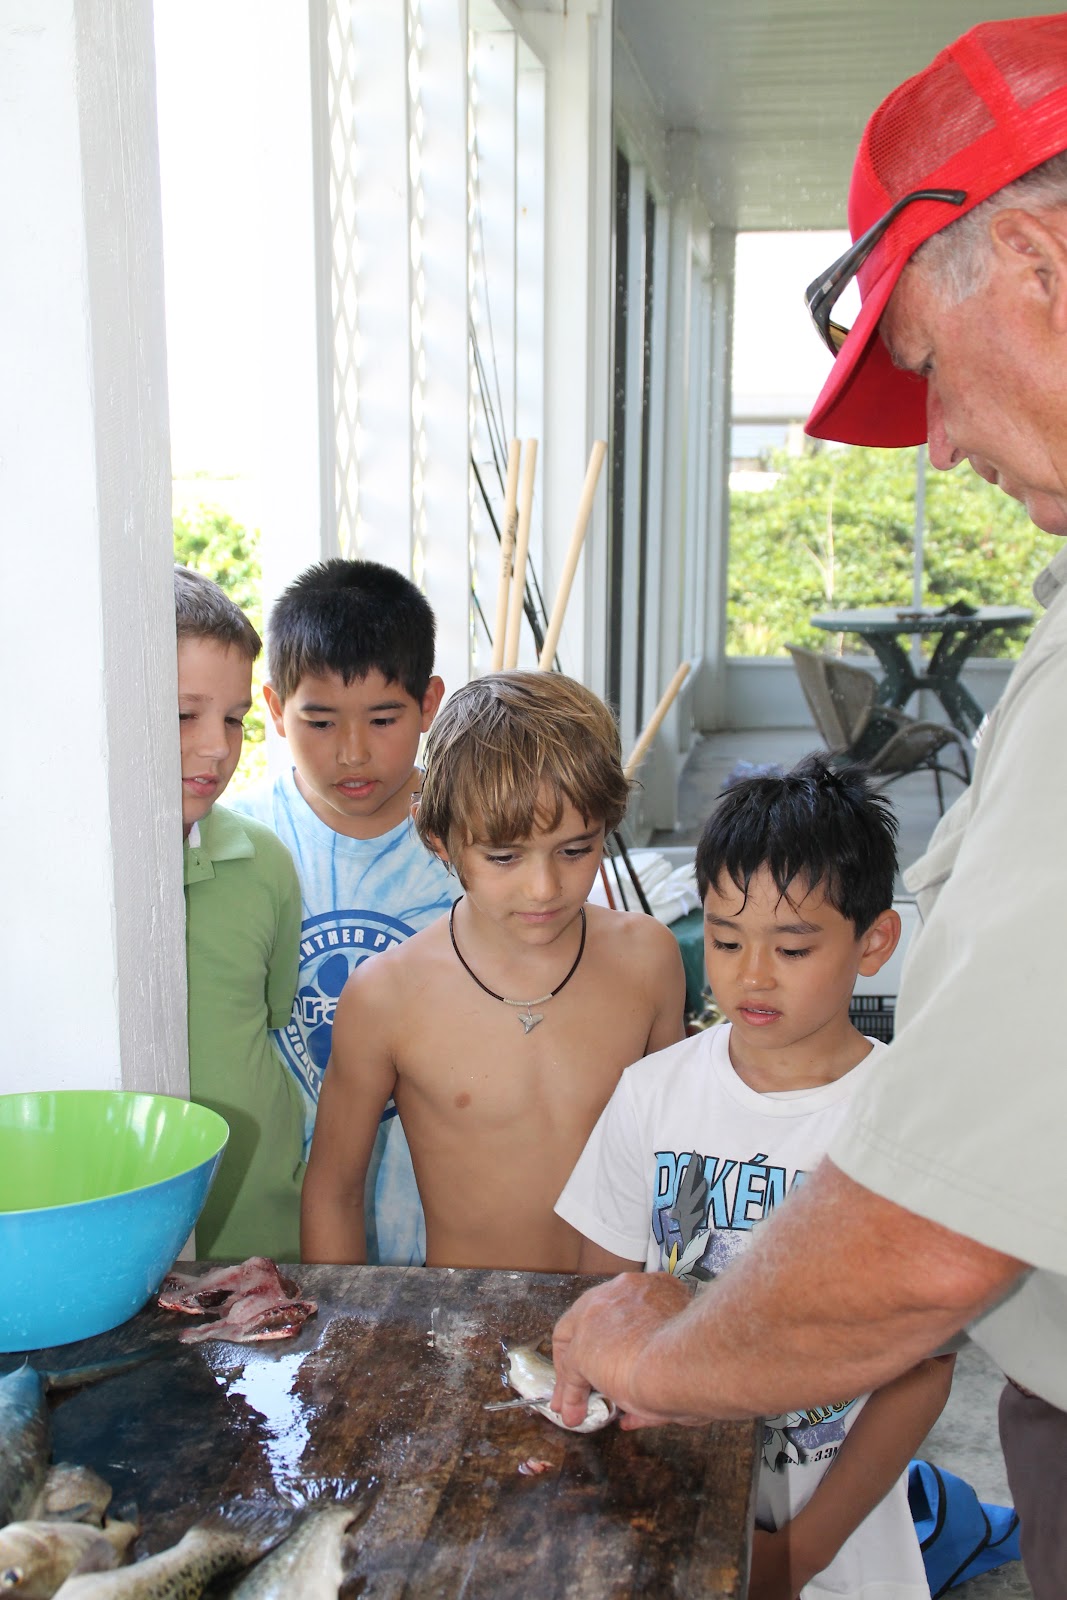
 Cleaning the fish for dinner.


 The kids picking up the fish I caught in the casting net.


It was a wonderful week and a week we will remember always.  Thank you, Mimi and Googie for the wonderful vacation!